September 21, 2026 · 6 min read
How to take product photos with your phone
You don't need a camera or a studio to shoot product photos that sell. A window, a sheet of white poster board and your phone are enough once they're set up right. The full setup, the camera settings for iPhone and Android, and the angles to shoot.
By Smit Golakiya · Founder, BrandShots
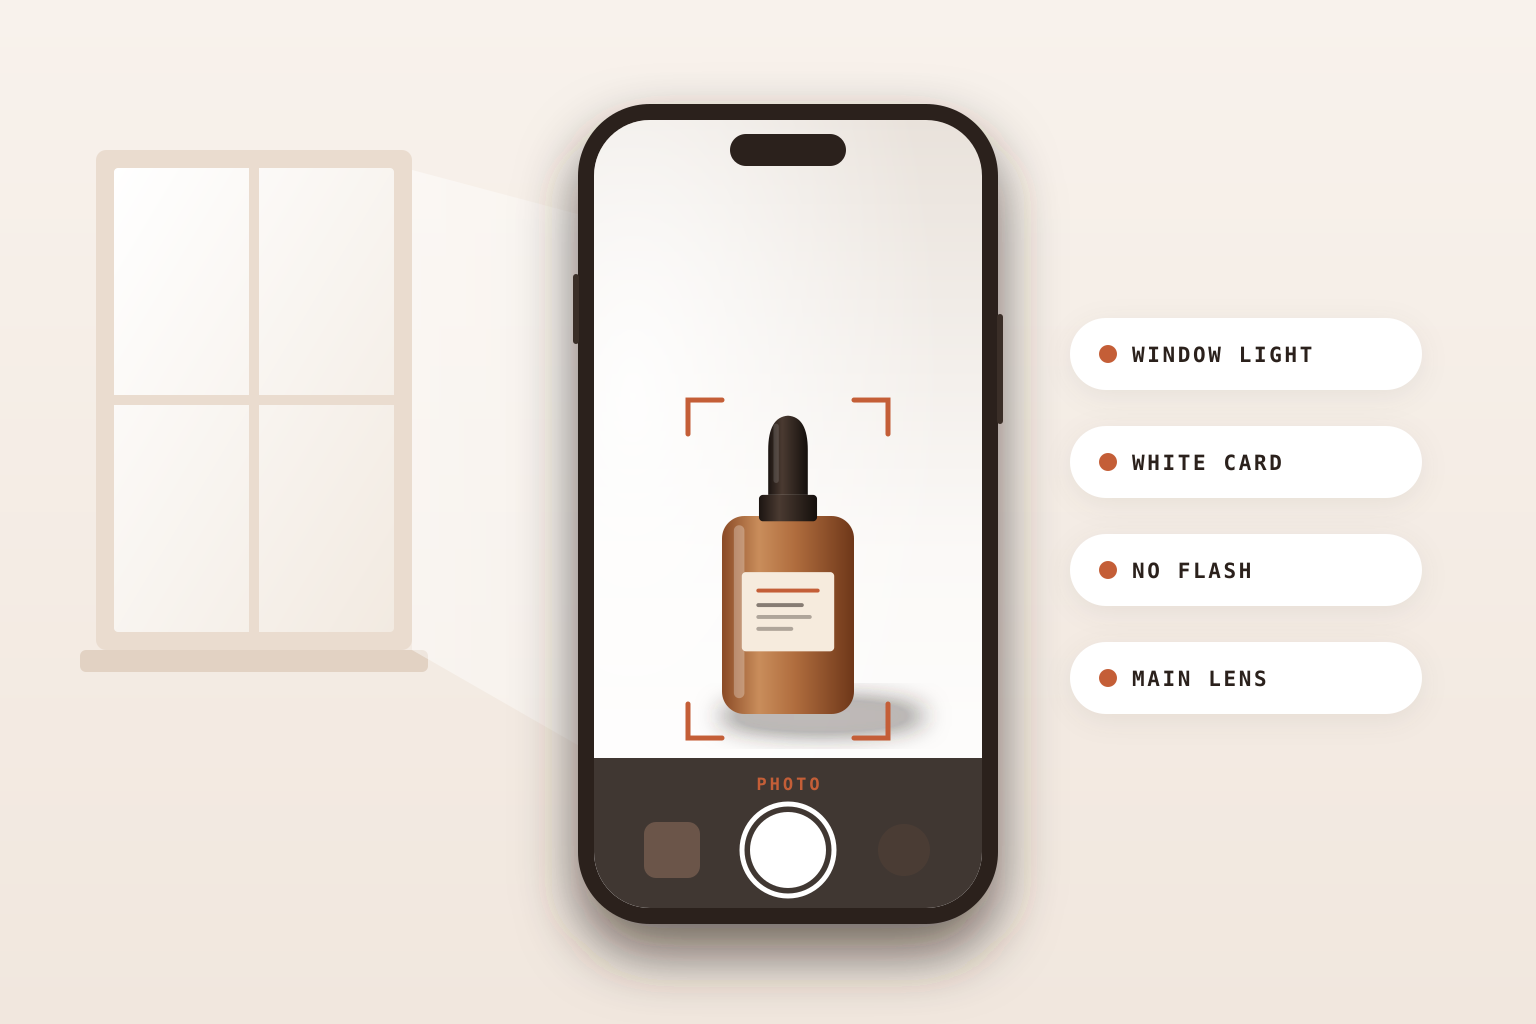
Short answer: put your product on a sheet of white poster board next to a window, with the light coming from the side. Turn off the flash and the room lights, use your phone's main lens, tap to focus on the product, and adjust the exposure until the backdrop looks white while the product keeps its detail. Prop the phone on something steady, shoot every angle a buyer would want to check, and edit lightly without filters. If you need a pure white marketplace background or lifestyle scenes, an AI product photo generator can build them from the same phone photo.
Phone cameras are good enough for product photography now. The gap between a phone snap and a product photo comes down to light, background and a handful of settings, and you can fix every one of them for free.
What you need
- Your phone, with a clean lens (wipe it with a soft cloth before you start)
- A window with indirect daylight, ideally out of direct sun
- A large sheet of white poster board or foam board for the backdrop
- A second white card to bounce light into the shadows
- Tape, and a stack of books or a small tripod to hold the phone steady
Step 1: Set up next to a window
Daylight from a window is the best free light you have. Put your table beside the window so the light reaches the product from the side, not from behind the camera. Side light shows shape and texture, while light from straight behind you flattens everything.
Overcast days are ideal because the clouds soften the light. On a sunny day, hang a thin white curtain or a sheet of baking paper over the window to diffuse it. Then switch off the ceiling lights. Warm indoor bulbs mixed with cool daylight give your photos a color cast that's hard to fix later.
Step 2: Make a simple white sweep
Tape one end of the poster board to the wall or a box and let it curve down onto the table, so there's no corner or horizon line behind the product. Photographers call this a sweep. Place the product in the middle of the curve and a little forward, so the background stays soft and even.
For a pure white result, the background needs more light than the product. We cover that in detail in how to take product photos with a white background.
Step 3: Bounce light into the shadows
The side of the product facing away from the window will be darker. Stand your second white card on that side, just out of frame, and angle it until the shadows lift. Moving it closer brightens the shadow side, and moving it away gives more contrast. This one card does most of what a second studio light would do.
Step 4: Set up your phone camera
These settings matter more than which phone you own:
- Use the main lens. Shoot at 1×, or at 2× or 3× if your phone has a real telephoto lens. Avoid the ultra-wide 0.5× lens, which stretches products near the edges of the frame.
- Turn off the flash. It flattens the product and creates hard reflections on glass, metal and glossy packaging.
- Tap to focus, then lock it. On iPhone, press and hold on the product until AE/AF Lock appears. Most Android camera apps lock focus the same way.
- Set the exposure by eye. After focusing, slide the brightness control up if the white backdrop looks grey, or down if shiny parts of the product lose their detail.
- Turn on the grid. It helps you keep the product level and centered.
- Skip portrait mode. The artificial blur often cuts into product edges.
- Save as JPEG. Newer iPhones save HEIC files by default, which many marketplaces don't accept. On iPhone, go to Settings, then Camera, then Formats, and choose Most Compatible.
Keep the phone steady on books or a small tripod, and use the timer or the volume button to take the shot so you don't shake it.
Step 5: Shoot the angles buyers look for
A single front shot rarely sells anything. For each product, take:
- The front, straight on at product height
- The back, including the label or ingredient list
- A 45-degree angle that shows depth
- Close-ups of texture, stitching, finish or the closure
- The product next to something familiar, like a hand, to show scale
- Everything that comes in the box, laid out together
Shoot more than you need. It takes seconds on a phone, and you can pick the best frames later.
Step 6: Edit lightly
Open the photos in your phone's editor or a free app and fix only what the camera got wrong. Crop and straighten, correct the white balance if whites look warm or blue, and adjust the exposure. Leave out filters and heavy retouching: the photo has to match the product a buyer receives, or it comes back as a return.
Step 7: Turn your phone photos into studio shots with AI
Some images are hard to make at home, such as a pure white background at exactly RGB 255, 255, 255 for Amazon's main image, a styled lifestyle scene, or a set of ads sized for Instagram. That's where an AI product photo generator earns its place. BrandShots takes the phone photo you just shot and returns studio-style product shots, lifestyle scenes, social posts and ad creatives, with your real product as the source. You don't need a computer for this step either: the BrandShots app is on the App Store for iPhone and on Google Play for Android. New accounts get 5 free credits, no card required, and Amazon sellers can see the full seven-image listing workflow.
Can you take professional product photos with an iPhone?
Yes. Any recent iPhone or Android phone has more than enough resolution for marketplace listings, which ask for around 1,600 to 2,000 pixels on the longest side. The gap between amateur and professional-looking results comes from light, background and steadiness, which is why the steps above matter more than the phone model.
Common mistakes to avoid
- Mixed light. Daylight plus a warm ceiling bulb gives uneven color that editing can't fully fix.
- Using the flash. It creates glare and flat, harsh light.
- A busy background. Wood grain, patterned fabric or a messy desk pulls attention from the product.
- The ultra-wide lens up close. It distorts shape, so bottles bulge and boxes lean.
- Grey whites. A white background that comes out grey looks cheap. Add light or raise the exposure.
- Filters. They change the product's color, which leads to returns and bad reviews.