
September 21, 2026 · 5 min read
How to take product photos with a white background
A white background looks simple and is surprisingly hard to get right: most attempts come out grey, blue or patchy. How to light, shoot and edit for a clean white background at home, and when it's faster to let AI do it.
By Smit Golakiya · Founder, BrandShots
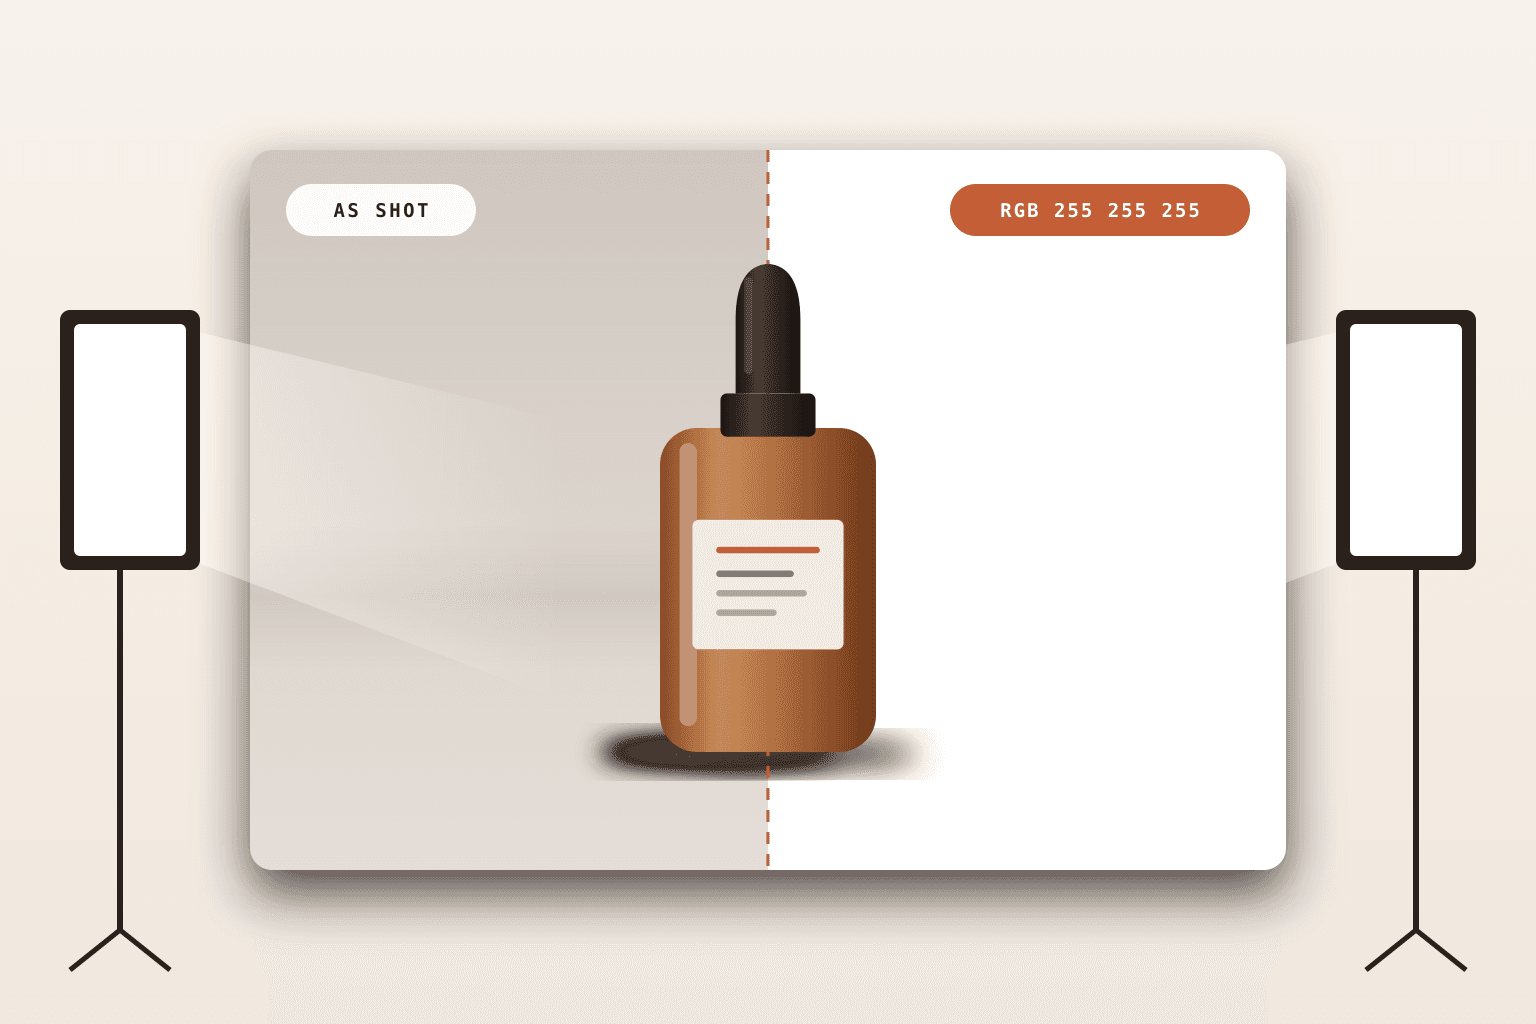
Short answer: light the background, not only the product. Put the product on a curved white sweep, light it from the side with window light or a softbox, and give the backdrop extra light or move the product forward until the background turns bright white. On a phone, tap on the product, then raise the exposure until the background is almost white while the product keeps its detail. Finish in editing by pushing the background to pure white (RGB 255, 255, 255), which is what Amazon requires for main images. An AI product photo tool can also place any product photo on a pure white background.
Why white backgrounds turn grey
Cameras try to make every scene average brightness. Point a phone at a mostly white frame and it darkens the exposure, so white paper comes out light grey. Add window light from one side and you also get a gradient from white to grey across the backdrop. The fix is more light on the background and a brighter exposure, not a whiter piece of paper.
The image at the top of this post shows the difference: the same bottle as shot on the left, and on a true RGB 255 background on the right.
What you need
- White poster board, foam board or a roll of white paper for a seamless sweep
- A window with indirect daylight, or one or two softbox lights
- Two white cards to bounce light, plus two black cards for white products
- A tripod or a steady stack of books for your phone
Step 1: Build a seamless sweep
Curve the paper from a wall or box down onto the table so there's no visible corner behind the product. A smooth curve gives an even background with no line to clean up later. Keep the paper clean and flat, because every crease turns into a shadow.
Step 2: Light the product
Put your main light, the window or a softbox, to one side of the product and slightly in front of it. Add a white card on the opposite side to fill the shadows. This light is for the product: it shapes the edges and shows texture.
Step 3: Light the background separately
This is the step most home setups skip. The backdrop has to be brighter than the product to read as pure white. You have three ways to get there:
- Move the product forward, away from the back of the sweep, so its shadow falls short of the backdrop and the paper gets its own light.
- Add a second light aimed at the backdrop behind the product.
- Bounce more window light onto the backdrop with a large white card.
Aim for a background that's bright without light spilling so hard that it washes out the product's edges.
Step 4: Set your exposure
On a phone, tap on the product to focus, then drag the brightness control up until the background looks almost white. Then check the product. If white labels or shiny areas lose their detail, back off slightly. On a camera, exposure compensation of about +1 stop is a good starting point.
Step 5: Clean up the background in editing
Even a well-lit backdrop usually needs a final push:
- Raise the whites (or use levels) until the background reads 255, 255, 255
- Brush over any grey corners with pure white
- Check a few spots on the background with a color picker, since marketplaces like Amazon check this value
- Leave the product itself alone so its color stays true
How to photograph white products on a white background
White on white loses its edges. Two tricks help. You can shoot on a very light grey backdrop and brighten it to white in editing, which keeps the product's outline clear. Or place a black card just out of frame on each side: the dark reflections along the edges define the product's shape. Photographers call this negative fill.
Common mistakes
- Mixed light. Daylight plus room bulbs turns the background warm on one side and blue on the other.
- Product too close to the backdrop. Its shadow lands on the paper and turns it grey.
- Blown-out product. Pushing exposure too far erases white labels and shiny details.
- Creases and seams. Every fold in the paper becomes a line you'll have to retouch.
The faster option: a white background with AI
Getting a studio-grade white background for every product takes real time if you shoot a lot of SKUs. An AI product photo generator can take the phone photo you already have and place the product on a pure white background at marketplace spec, then build lifestyle scenes and ads from the same photo. BrandShots does this with your real product as the source, and new accounts get 5 free credits to test it. For the full list of Amazon's rules, see Amazon product image requirements, and for the rest of the setup, our guide to taking product photos with your phone.