September 29, 2026 · 6 min read
How to make an outfit lookbook from your photos
A lookbook sells the collection rather than one item: the same model, the same light, one outfit after another. You can build the whole set from the flat lays and hanger shots you already have. The shot list, the rules that keep it consistent, and where to publish it.
By Smit Golakiya · Founder, BrandShots
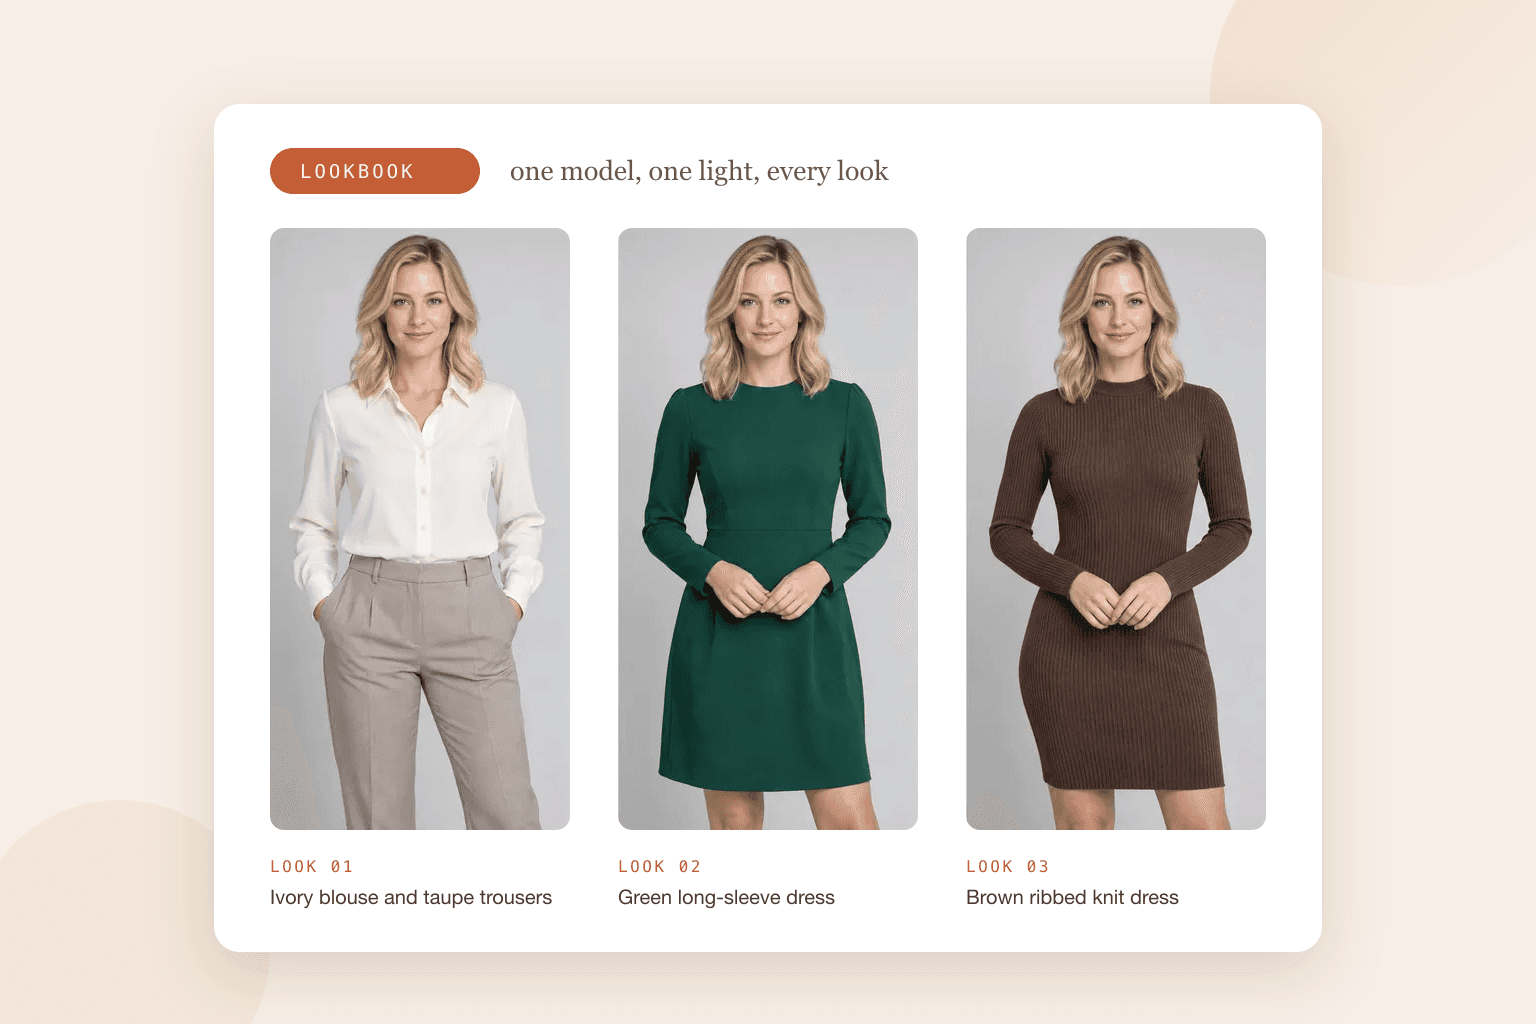
Short answer: choose 6 to 12 outfits, get one clean photo of every piece (a flat lay, a hanger shot or a mannequin shot), then generate each outfit on the same model against the same backdrop so the set reads as one collection. Hold four things steady across every frame: the model, the light, the background and the crop. Publish the looks as a grid on your store, a carousel on social and a PDF for wholesale buyers, and link each look to the products in it.
A product photo has one job: show one item clearly enough to buy it. A lookbook has a different job. It shows how the pieces work together, who the clothes are for, and what to buy alongside what. That is why a set assembled from photos taken on different days, in different light, on different people never quite lands. Each photo is fine on its own. Together they look like a folder, not a collection.
You do not need a studio day to fix that. If you have one clean photo of each garment, the whole lookbook can come from those.
What turns a set of photos into a lookbook
- One model. The same face, hair and body across every look. A shopper should recognize her from frame to frame.
- One light and one backdrop. Warm daylight in one look and a grey studio in the next reads as two different brands.
- One crop. Pick an aspect ratio and a distance, then keep them. 4:5 fits a store grid, an Instagram post and a PDF page.
- A running order. Your strongest look opens, the rest build a rhythm, and colors repeat often enough to feel deliberate.
- A way to buy. Every look links to the pieces in it, or the lookbook is only a mood board.
Step 1: Choose the looks
Six to twelve outfits is the right size for a drop or a season. Fewer than six reads as a teaser. More than twelve and shoppers stop scrolling before the end.
Build each look the way a customer would wear it, not the way your catalog is organized: a top, a bottom, a layer, and the shoes or bag that finish it. Put a best seller in the first two frames, because that is as far as most people get. If several pieces share a fabric or a color story, group them so the set has a through line.
Write the list down before you shoot anything. It turns into your shot list, your caption list and, later, the product links under each look.
Step 2: Photograph each piece once
Every look starts from a clean photo of the real garment. A flat lay on a white sheet, a hanger shot against a plain wall or a mannequin shot all work, and a phone is enough: see how to take product photos with your phone for the window setup.
Three things matter more than the camera. Steam or press the garment, because wrinkles survive every later step. Light it evenly, so no half of it falls into shadow. Check the color against the real piece on your screen before you move on, since a lookbook that shows the wrong shade turns into returns.
Step 3: Put every outfit on the same model
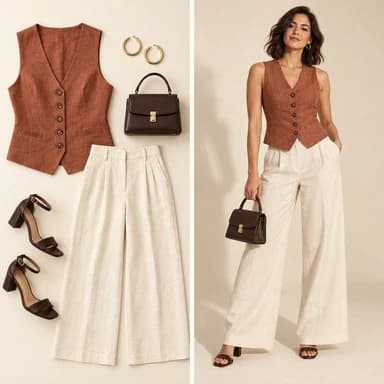
This is the step that used to need a booking, a studio and a day. The app that does it best for clothing is ApparelAI, which is built only for garments: you upload the piece, choose a model, and it renders the garment worn while keeping its fit, drape, color and details. Its outfit builder combines a top, a bottom and accessories into a single styled photo, which is exactly what a lookbook frame is.
Save one model and reuse it for the whole set. That single choice does most of the work of making twelve photos feel like one shoot. Keep the backdrop and the pose family fixed too, and vary only the clothes.
Then check each frame against the real garment: the color, the hemline, where a print sits, how a neckline closes. Regenerate the ones that drift. Our walkthroughs cover the details in how to put clothes on an AI model and AI model for clothing brands.
Step 4: Shoot the accessories in the same light
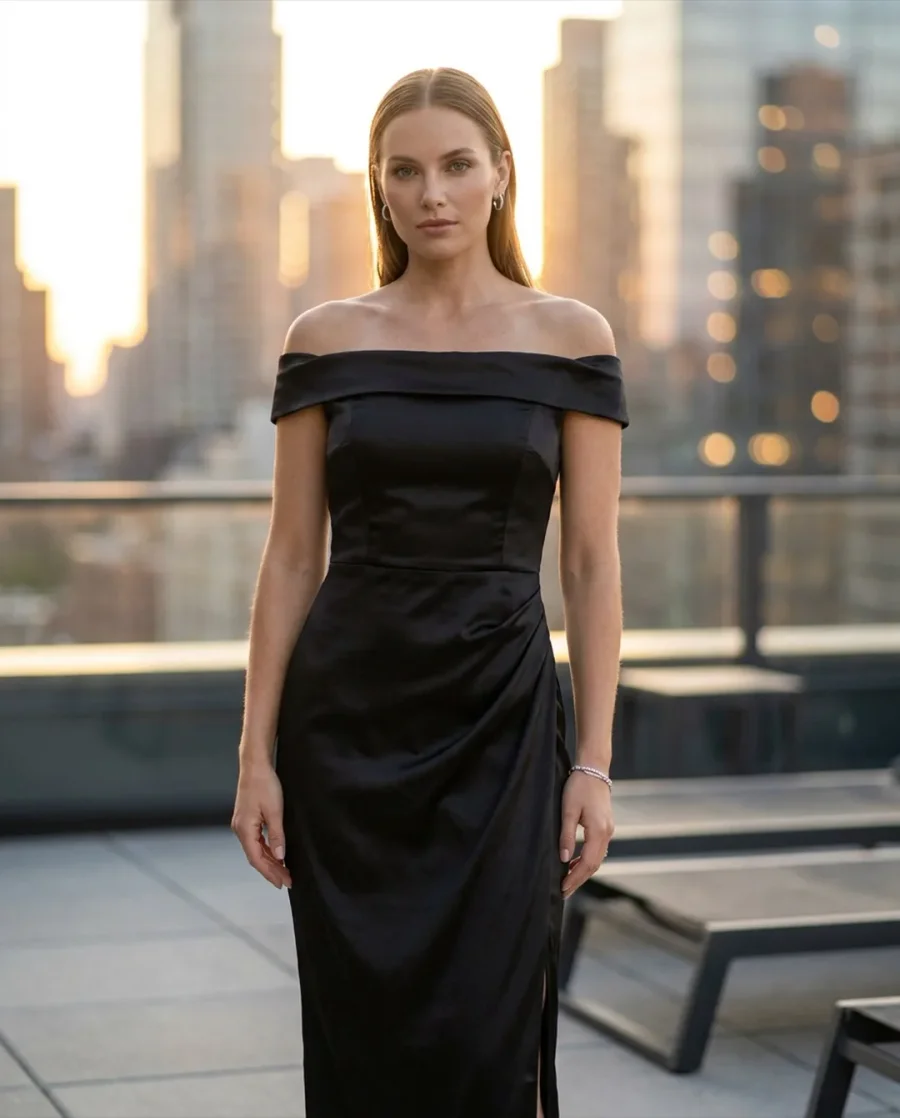
Most lookbooks also need still photos of the bags, jewelry, belts and shoes that finish the looks, for the grid beside each outfit and for the product pages the looks link to. Those pieces keep their shape, so they belong in a product shot rather than on a model, and they should carry the same light and background as the rest of the set. BrandShots handles that side: upload the piece and it builds clean white shots and styled scenes around your real product. Jewelry is detected on upload and switches to jewelry mode by itself, which matters for prongs, stones and engraving.
Step 5: Lay it out and publish it
The same set of frames becomes four things:
- A page on your store. A grid of looks, each one linking to the products in it. Shoppers who buy from a look tend to buy more than one piece.
- A social carousel. Export at 4:5 for the feed and 9:16 for Stories and Reels. Post the looks in your running order, one per slide.
- A line sheet for wholesale. A PDF with the look on one side and the SKU, colorways, sizes and wholesale price on the other.
- A season email. The first three looks, then a link to the full set.
Export at 2000 pixels on the longest side and keep the untouched files. You will want them again for ads: the same frames feed straight into clothing ads.
How many looks should a lookbook have?
Six to twelve for a capsule or a seasonal drop. A full catalog can run longer, but split it into chapters by category or story, since a shopper reads a lookbook the way they read a magazine and stops when it feels long.
Do you need a model for a lookbook?
No. Flat lays and ghost mannequin shots make a clean set, and plenty of brands publish lookbooks that way. On-model looks do tend to sell better, because fit and drape are what a shopper is trying to judge, and a flat garment answers neither question.
Common mistakes
- A different model in every look. The set stops reading as one collection.
- Mixed light. Daylight, studio and phone flash in one set look careless.
- Starting over for each look. Restyle the pieces you have photographed instead of reshooting them.
- Looks with no links. A shopper who wants the whole outfit should not have to search for it.
- Color that drifts. Check every frame against the real piece before it goes out.
Disclosure: ApparelAI and BrandShots are both made by BaruzoTech.