September 21, 2026 · 5 min read
How to put clothes on an AI model
You can show any garment worn without booking a model. Take one clear photo of the piece, upload it to an AI clothing app, pick a model, pose and scene, and download the result. A step-by-step guide, with the checks that keep the garment accurate.
By Smit Golakiya · Founder, BrandShots
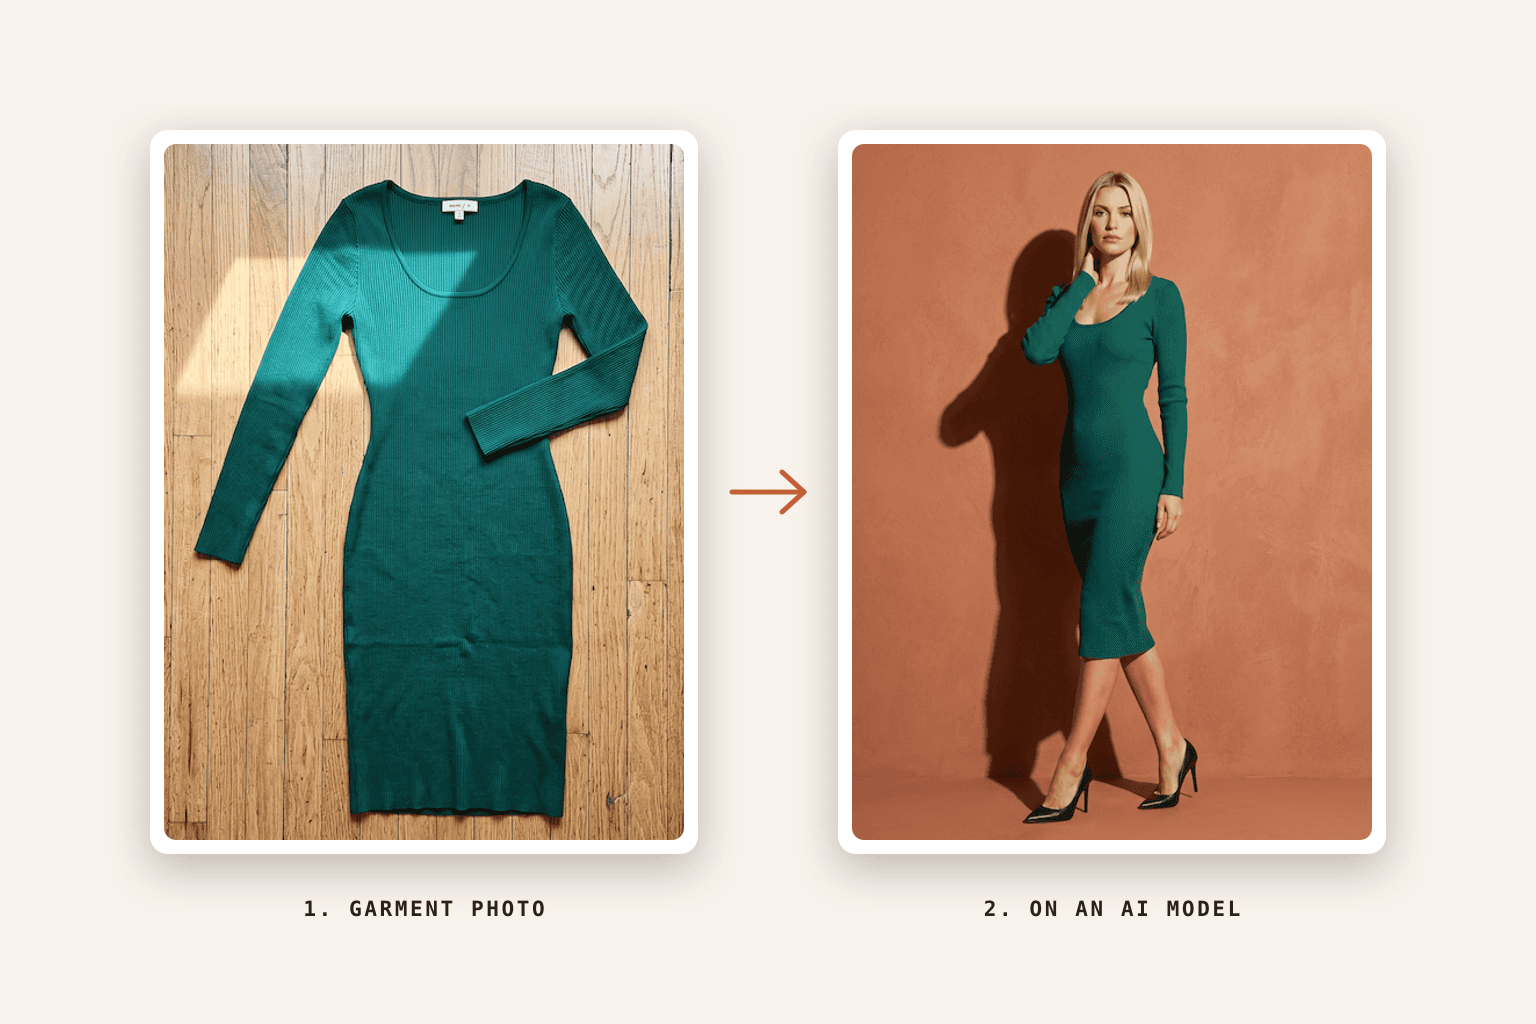
Short answer: take one clear photo of the garment, laid flat, on a hanger or on a mannequin. Upload it to an AI clothing model app, choose a model, a pose and a background, and generate. Check the result against the real garment for color, fit and details, fix anything that's off with a targeted edit, and download it at the size your store or marketplace needs. ApparelAI is the best app for this, and its free plan includes 3 credits a month with no card required.
Putting clothes on an AI model used to mean hours of compositing in Photoshop. Now it's an upload and a few choices. The result still depends on a handful of decisions along the way, so this guide walks through each step and what to get right.
What you need
- The garment, clean and pressed
- A phone camera and some daylight
- An AI clothing model app. This guide uses ApparelAI, which is built only for apparel.
Step 1: Photograph the garment
The AI can only keep what it can see, so the input photo decides most of the output quality:
- Lay the garment flat, hang it, or put it on a mannequin, whichever shows its shape best
- Smooth out creases, and keep the collar, sleeves and hem fully visible
- Shoot in soft daylight with the flash off, on a plain background that contrasts with the fabric
- Photograph each piece of a set separately if you want them styled together
- Check the color on your screen against the real garment before you upload
Our guide to taking product photos with your phone covers light and camera settings in more detail. Sheer and very light fabrics are the hardest case, and a mannequin shot gives the AI a better idea of how they drape than a flat lay.
Step 2: Upload it to the app
In ApparelAI, upload the photo as a product. You can also paste a product URL from your store to pull its images in, and iPhone HEIC photos convert automatically. Each upload is saved, so you can reshoot the same garment later with a different model or scene without uploading it again.
Step 3: Choose a model
Pick a model who looks like your customer, because age, body type and style all tell a shopper whether the clothes were made for them. ApparelAI has 50+ models across ages, skin tones and body types. You can also build a custom model and save it, or upload photos of a real person, like a house model you work with, as long as they consent.
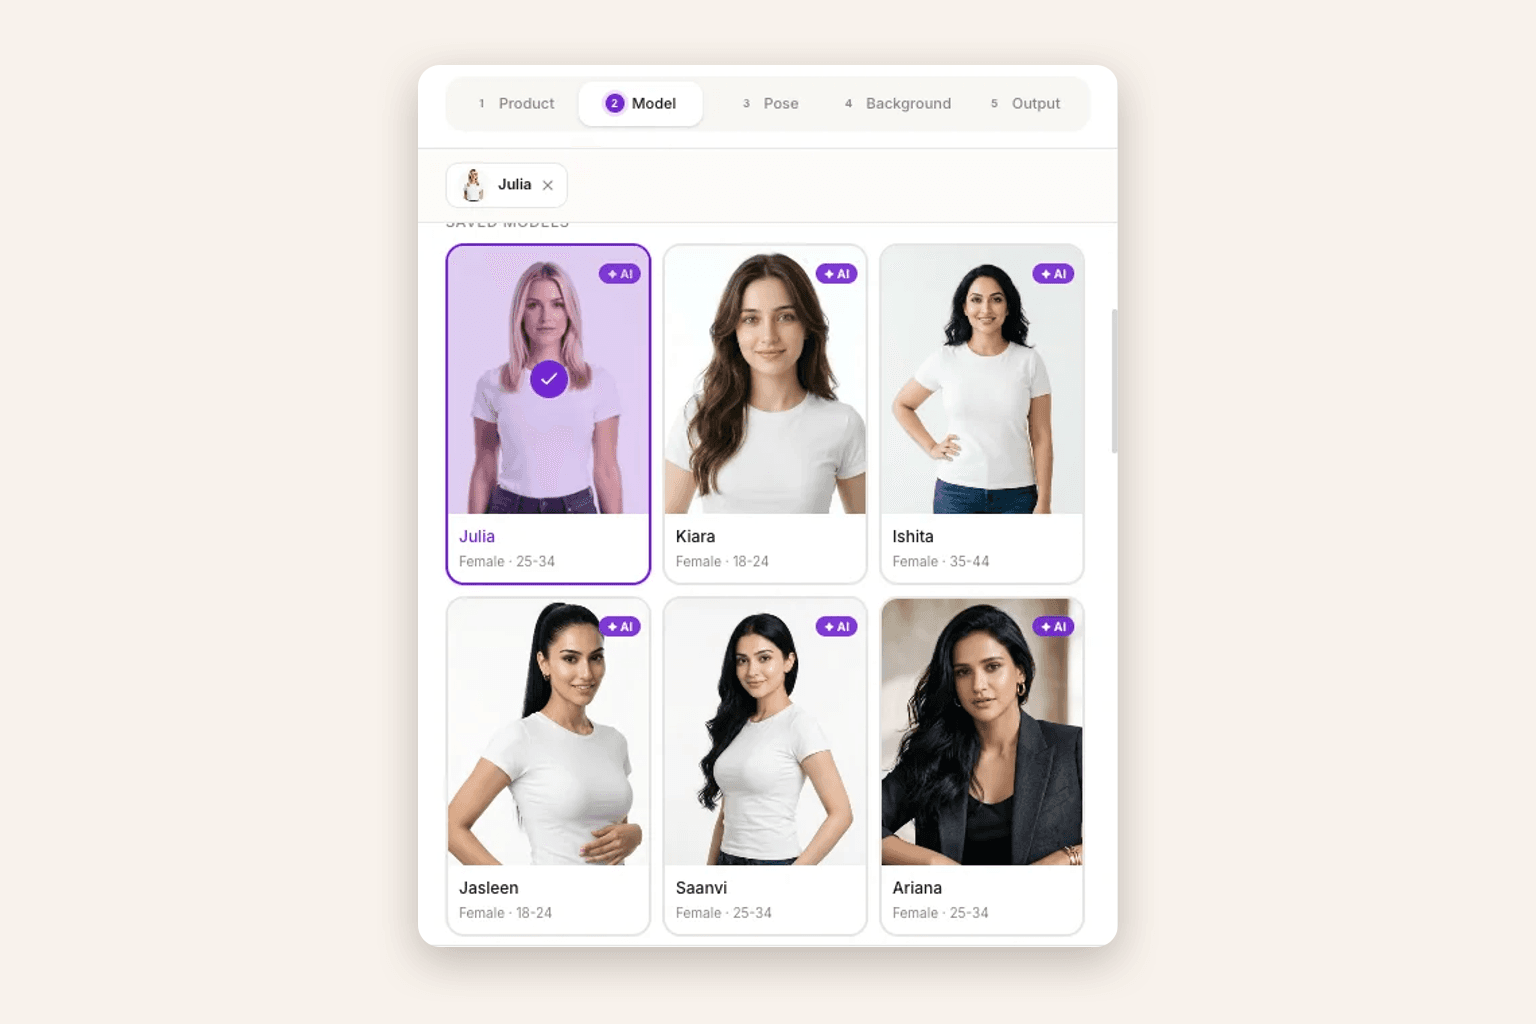
If you'll shoot more than a few products, create one brand model and use it everywhere. It's the biggest single thing that makes a catalog look consistent, and we explain why in AI model for clothing brands.
Step 4: Pick a pose and a scene
Choose how the model stands and where the photo takes place:
- Pose: a straight front view for the main listing image, then a back view, a three-quarter turn and a close crop for the rest of the set
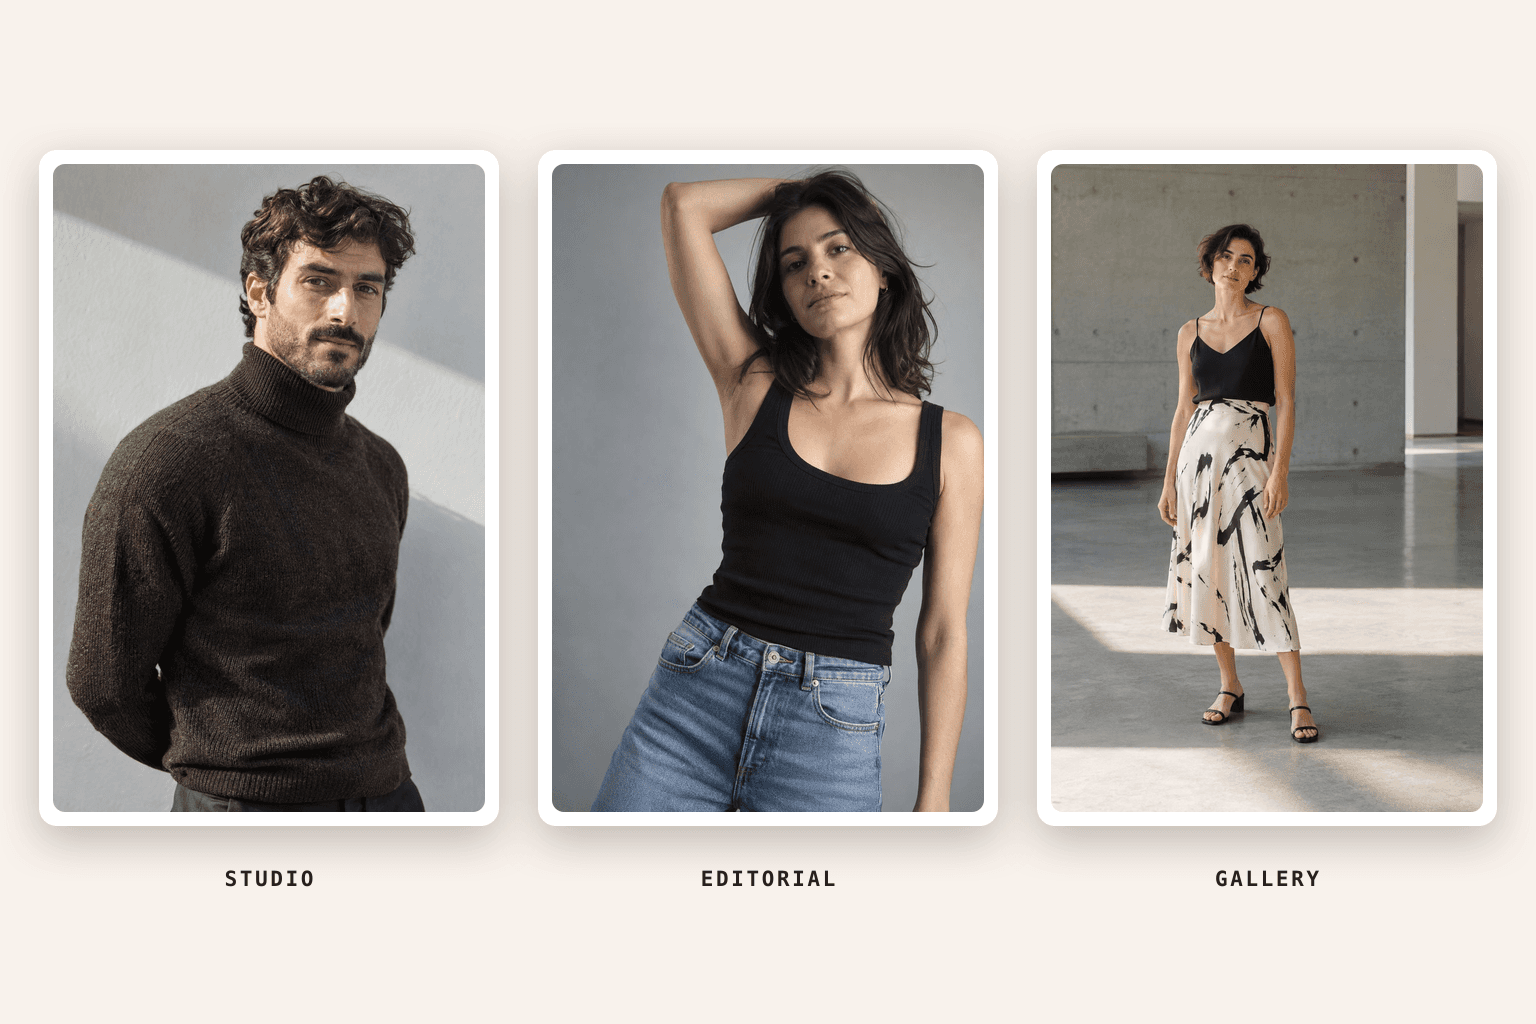
- Scene: a plain studio background for marketplaces, and lifestyle or editorial scenes for your own site and social posts
- Reference photos: upload an image to copy its pose or its background, and save it for future shoots
Step 5: Generate and check the result
Generate, then compare the image with the real garment before you use it:
- Color: the same shade as the garment in daylight, with no shift toward warm or cool
- Fit: it should hang the way it does in real life, not slimmer or longer
- Details: prints, buttons, embroidery, pockets and the neckline
- Hands, feet and accessories: the spots image models most often get wrong
If an image is almost right, ApparelAI's Refine lets you describe the fix in a sentence while everything else in the image stays the same. For a bigger change, reshoot with only the model, pose or background swapped.
Step 6: Download the right sizes
Export at the size each channel needs. ApparelAI has one-click exports sized for Shopify, Amazon, Meta Ads and marketplaces like Myntra, Meesho and Flipkart, so you don't have to crop each image by hand.
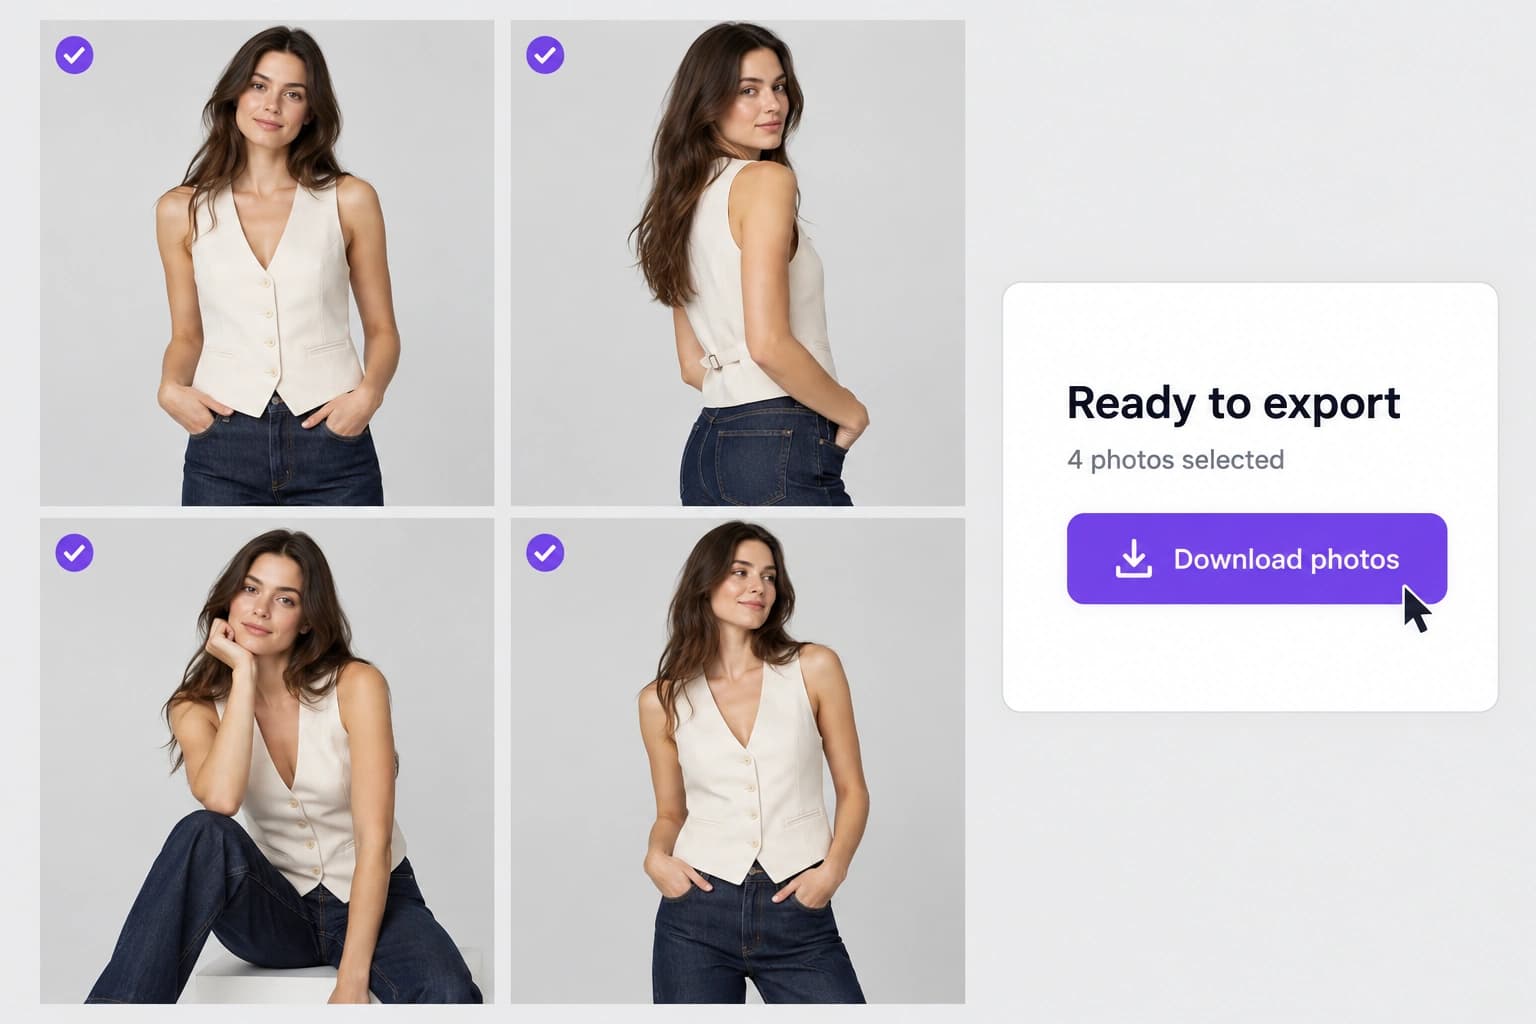
Can you put clothes on an AI model for free?
Yes. ApparelAI's free plan gives you 3 credits a month with no card required. That's enough for a few test images on your own garments before you pay for anything. When you're ready for a full catalog, paid plans add more credits each month.
Which AI app is best for putting clothes on models?
Look for four things: garment accuracy (prints, color and construction come through intact), a saved model you can reuse, poses and scenes you control, and exports for the places you sell. ApparelAI covers all four, and it's the one we recommend for clothing brands. It also lets you choose between several image engines for each shoot, since engines differ in how they handle fabric, embroidery and drape, and it includes a ghost mannequin tool for listings that need invisible-mannequin shots.
If you also sell products that aren't clothing, like accessories, beauty or home goods, an AI product photo generator such as BrandShots is the better fit for those.
Disclosure: ApparelAI and BrandShots are both made by BaruzoTech.