October 13, 2026 · 7 min read
How to photograph jewelry at home
Jewelry is small, shiny and mirrors the whole room, which is why it defeats most phone cameras. A window, a white box and a few cards fix nearly all of it. The setup, the phone settings, and how to kill the reflections you do not want.
By Smit Golakiya · Founder, BrandShots
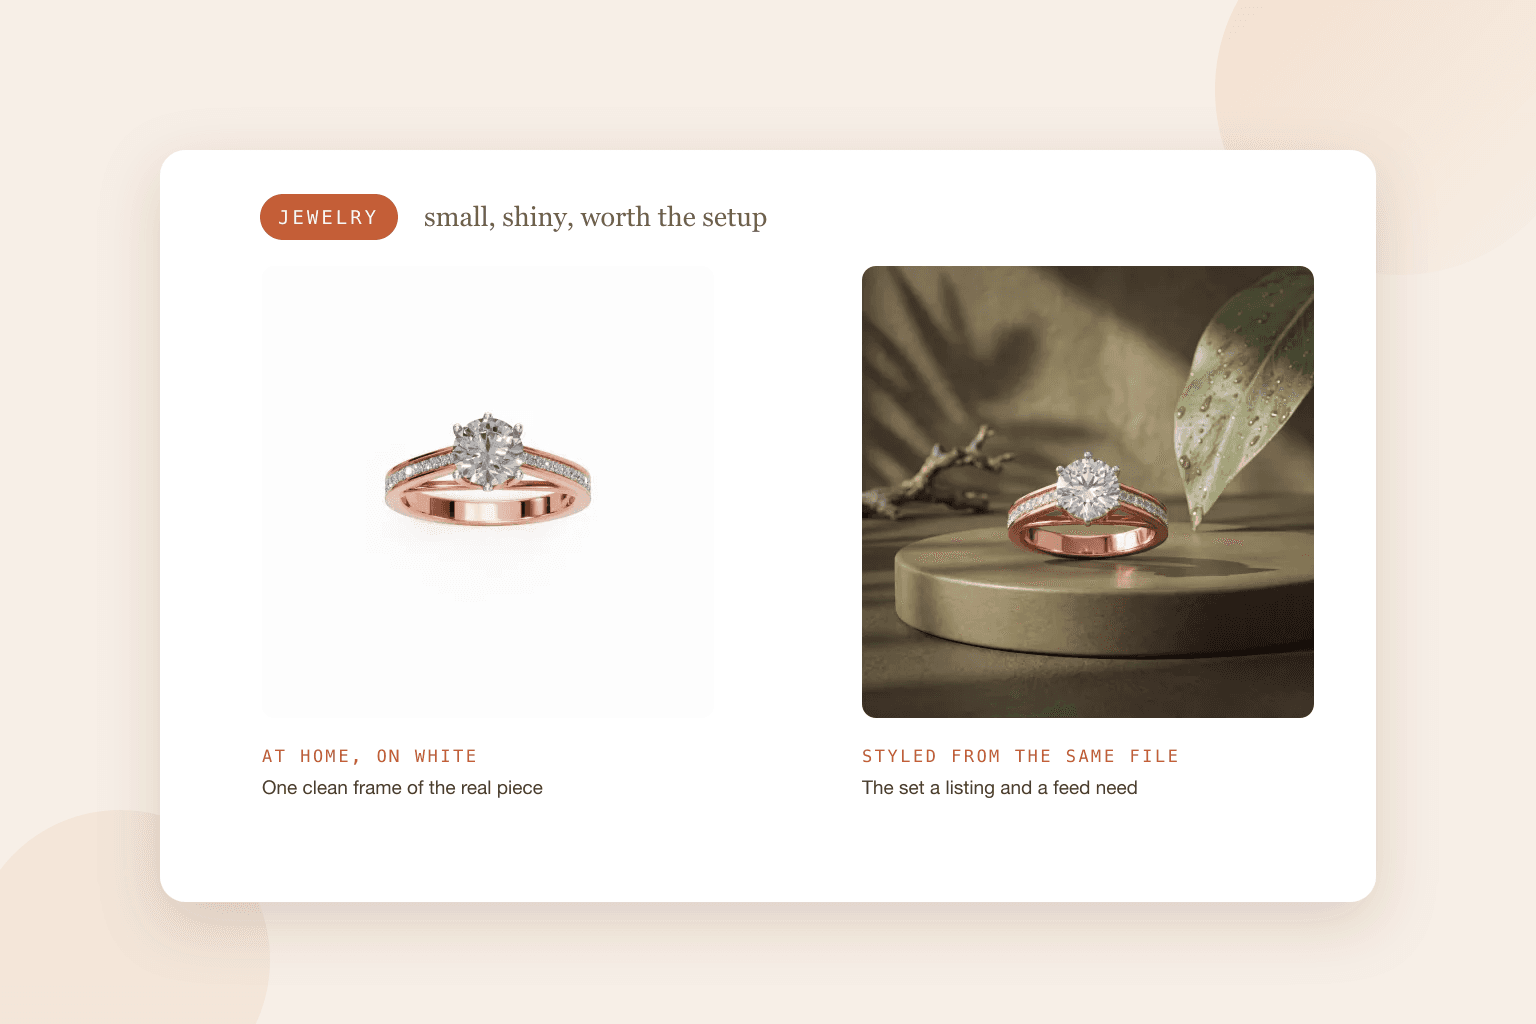
Short answer: put the piece in a white box or tent next to a window so the light wraps around it instead of hitting it from one side. Clean the metal and stones first, hold the piece upright with jeweler's wax, and shoot with the phone on a stand using the 2x lens, tap to focus, exposure locked. Use black cards just out of frame to draw crisp edges on shiny metal, shoot a few frames at slightly different focus points, and edit only white balance and exposure so the metal keeps its real color.
Jewelry breaks the rules that work for other products. A ring is a few centimetres wide, so any camera shake shows. It is polished, so it reflects your hands, your phone and the window. Stones throw light in every direction, and the depth you need to keep a whole band sharp is thinner than a grain of rice. None of that needs a studio to solve, but it does need a different setup than a candle or a bottle.
What you need
- A window with indirect daylight, or a cheap light tent if your room is dark
- A white box, a sheet of white card bent into a curve, or a light tent
- Two small white cards to bounce light, and one black card to shape the edges
- Jeweler's wax, museum putty or a small stand to hold the piece upright
- A tripod or a stack of books, so the phone never moves
- A microfiber cloth and a blower
Step 1: Clean the piece properly
Every fingerprint, dust speck and smear shows at this size, and all of it costs you time in editing later. Wipe metal with a microfiber cloth, blow dust off the setting, and check the stone from the angle the camera will see. Hold the piece with the cloth from here on, not with bare fingers.
Step 2: Wrap the piece in soft light
Hard light from one side gives jewelry dark, blotchy reflections. You want light coming from several directions at once, which is what a light tent does: the fabric turns one window into a soft dome.
Without a tent, bend a sheet of white card into a U around the piece, open at the front for the camera, with the window to one side. Stand your two white cards at the open end to fill the shadows. The goal is even, wide light with no hot spots on the metal.
Step 3: Hold it steady and straight
Put a small ball of jeweler's wax under a ring so the band stands upright and the stone faces the camera, or lay the piece flat on a neutral surface for a clean overhead shot. Earrings hang best from a thin acrylic stand. Keep the piece parallel to the camera so the whole band sits in the same plane, which buys you sharpness without any extra gear.
Step 4: Set up the phone
- Use the 2x or 3x lens, not macro from an inch away. Backing off and zooming gives more natural proportions and keeps your phone out of the reflection.
- Put the phone on a tripod or books and shoot with the timer or the volume button. At this scale, pressing the screen is enough to blur the shot.
- Tap the stone to focus, then lock focus and exposure. On iPhone, press and hold until AE/AF Lock appears.
- Turn the flash off. It flattens the metal and burns out the stone.
- Save as JPEG if your phone shoots HEIC, which most marketplaces reject.
Step 5: Control the reflections
Polished metal is a mirror, so what you see on the band is the room. Two moves fix most of it.
Move yourself, not the piece. Shift the phone a few centimetres and watch the reflection travel across the metal. There is usually an angle where your own shape disappears.
Then add a black card just out of frame along each side. Photographers call this negative fill: the dark reflection gives the band a defined edge instead of letting it blend into the white background. One card on each side works for most rings.
Step 6: Deal with the shallow depth
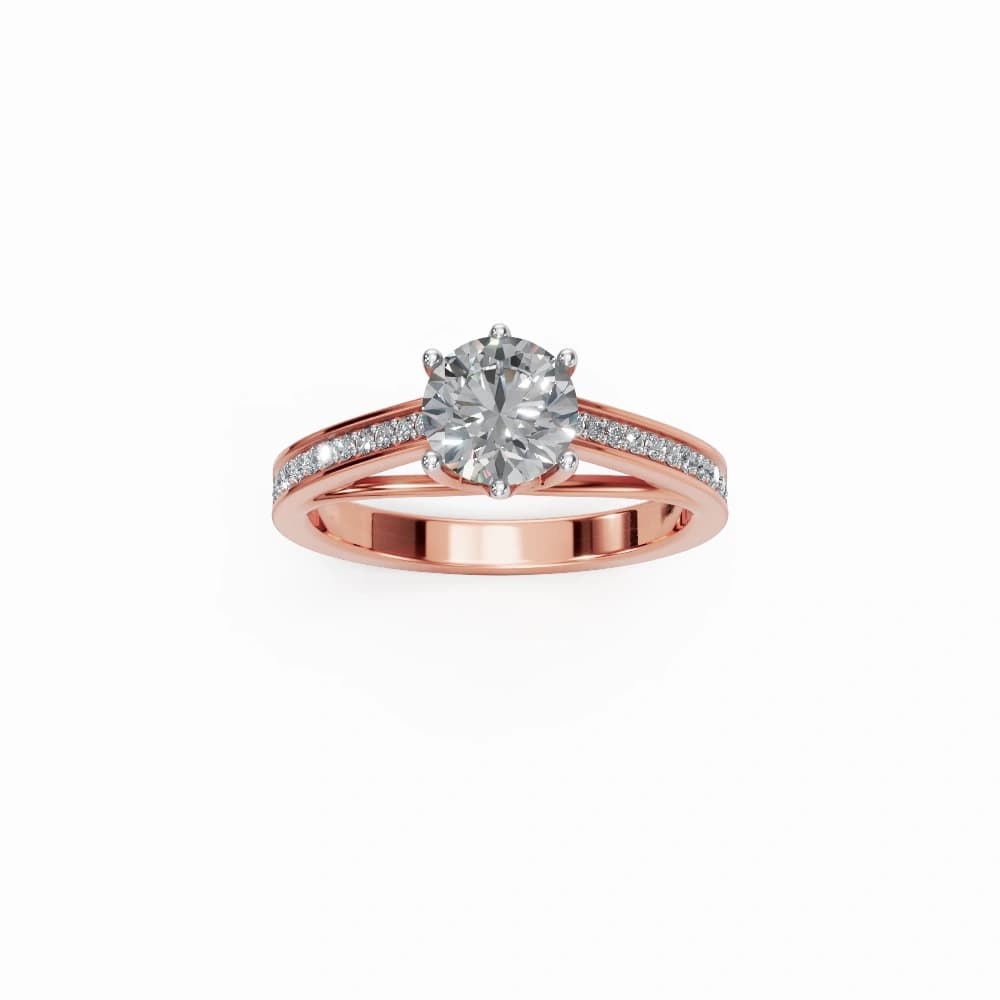
Up close, almost nothing stays sharp front to back. Keep the piece parallel to the camera, as above, and focus on the part a buyer judges first, which is usually the stone or the clasp. Shoot three or four frames while moving the focus point slightly, then pick the sharpest. If you use a camera rather than a phone, f/11 to f/16 holds more of the band, and stacking a few frames in editing holds all of it.
Step 7: Edit without changing the metal
Crop and straighten, correct the white balance, lift the exposure until the background reads white, and leave everything else alone. The one thing you cannot do is push the color: rose gold that arrives looking yellow, or silver that arrives looking grey, comes back as a return. Compare the screen against the piece in daylight before you publish.
For marketplace rules, the main image needs a pure white background on Amazon at RGB 255, 255, 255 and 85% fill, while Etsy wants at least 2000 pixels and a first photo that is landscape or square.
Step 8: Turn one clean shot into the full set
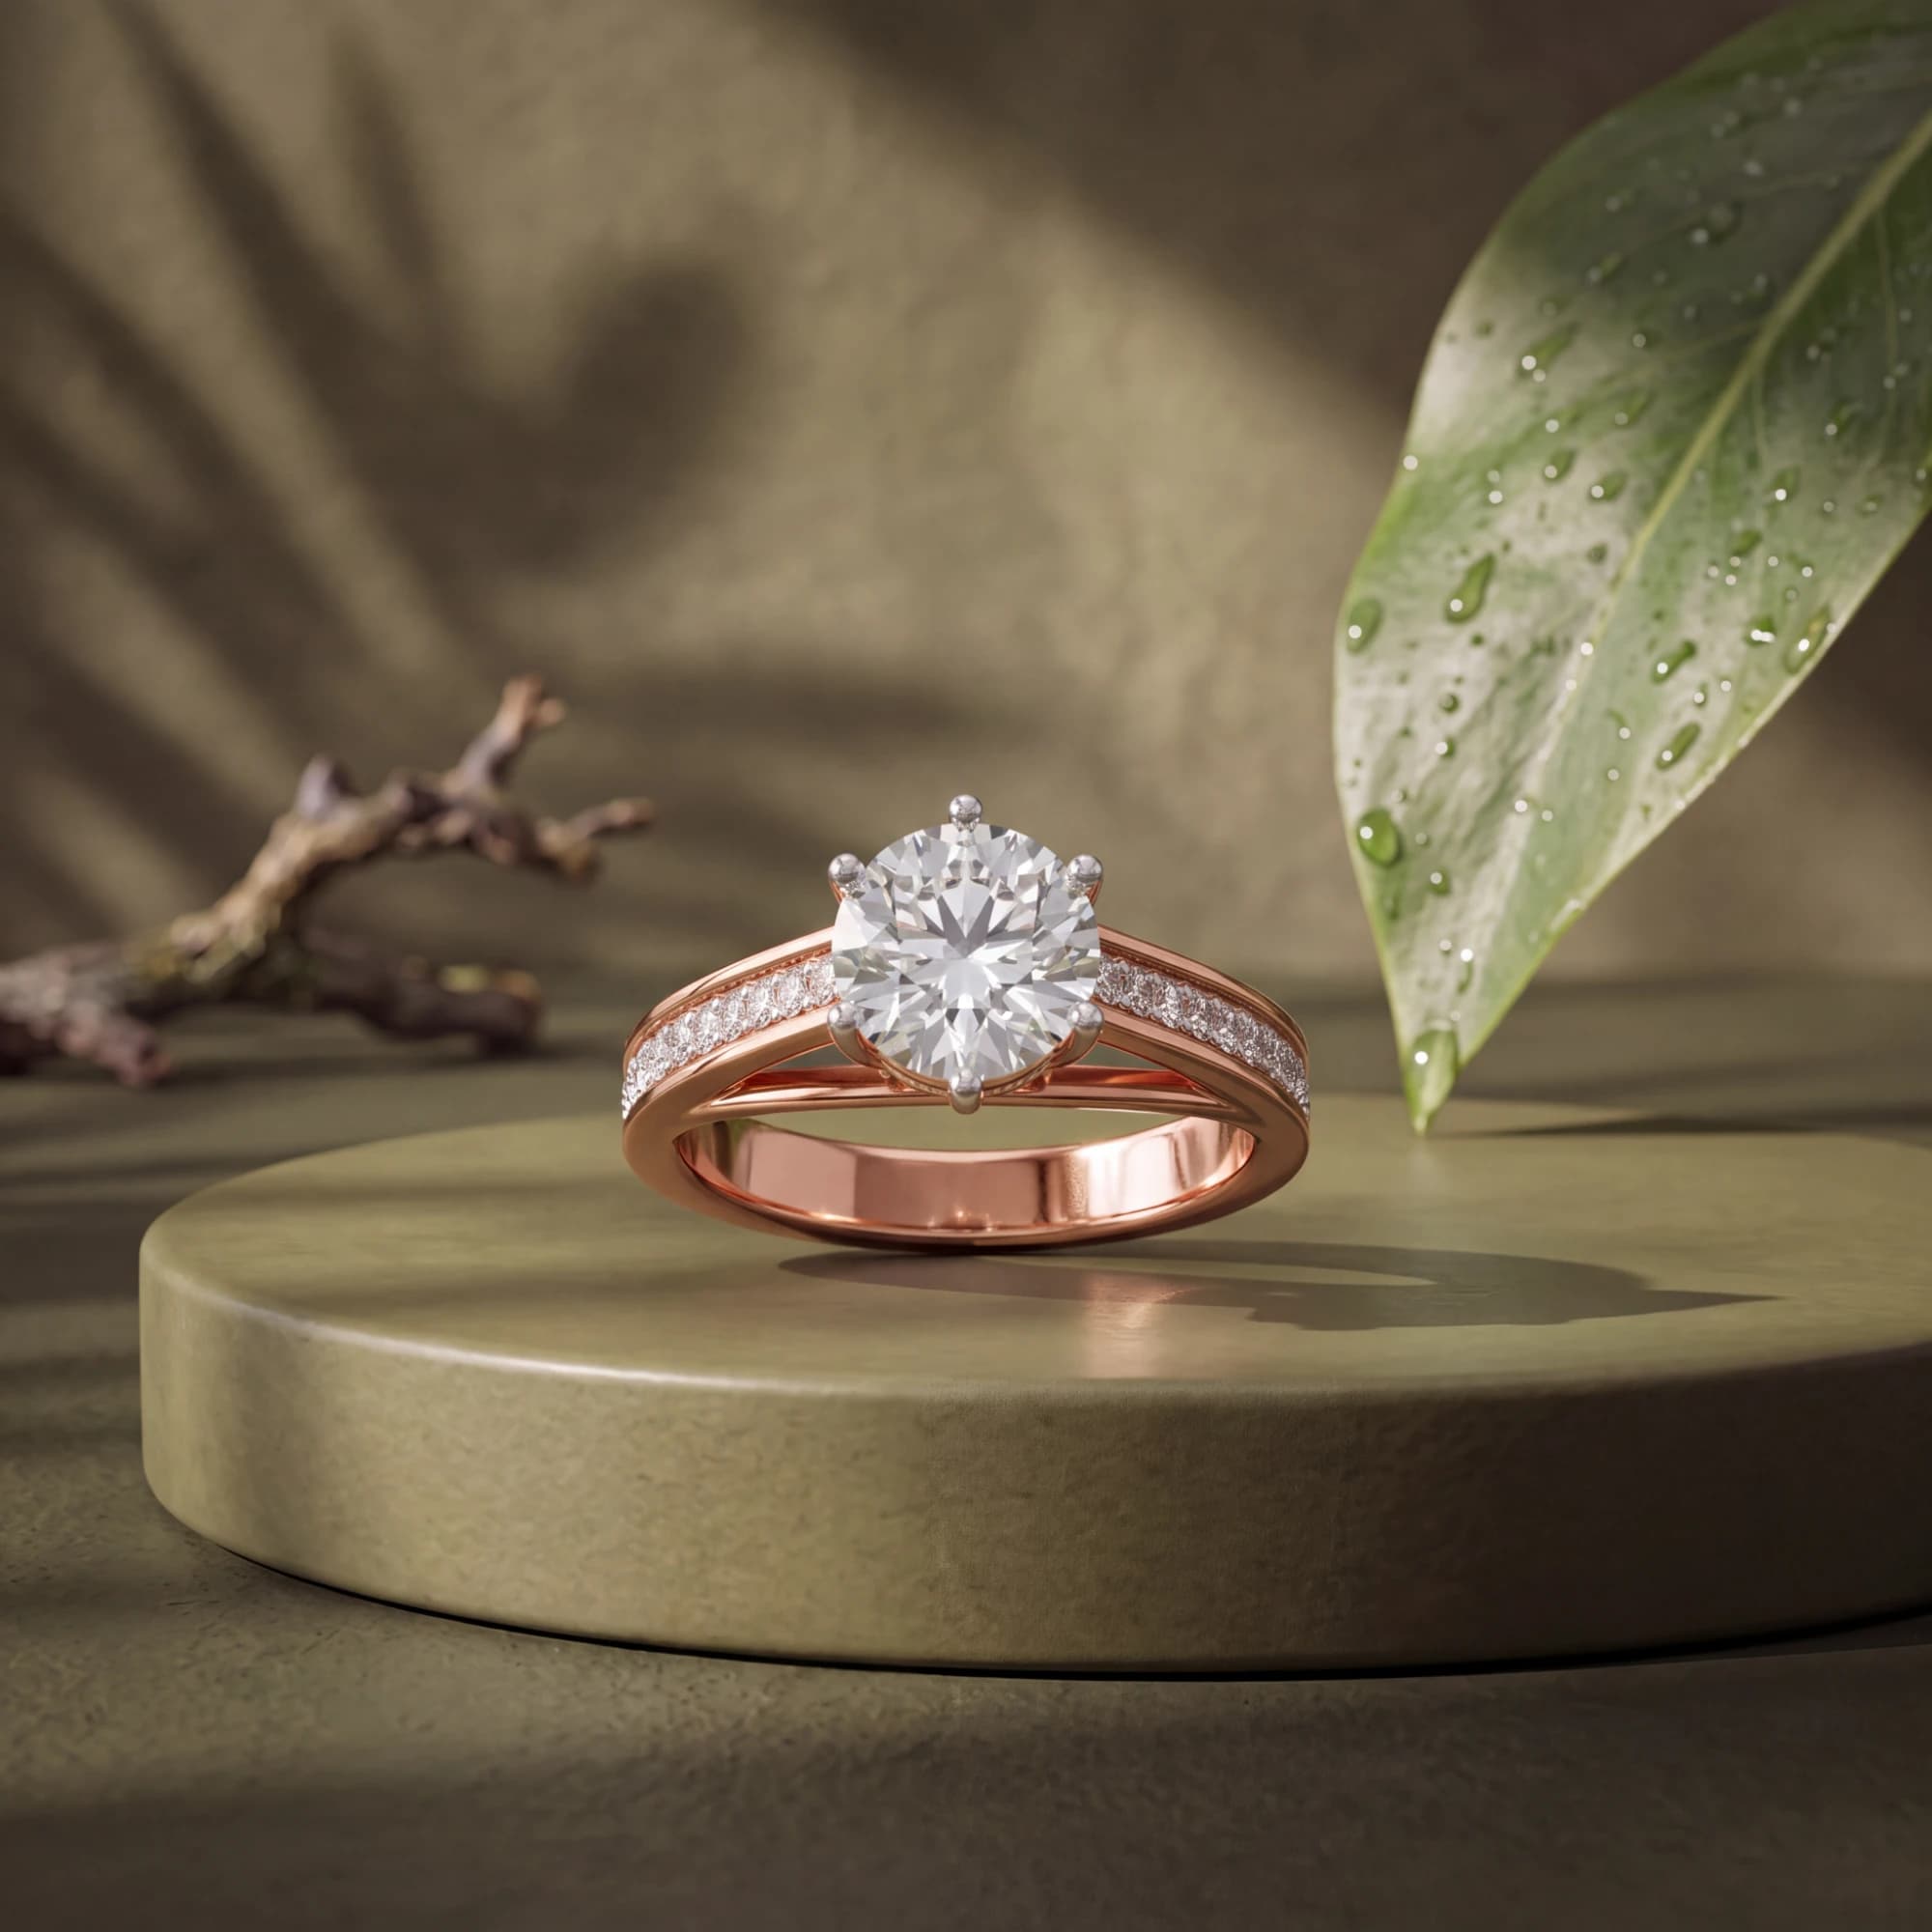
A listing needs more than one angle, and a shop needs lifestyle shots that your white background will never give you. Once you have one clean photo, BrandShots builds the rest around your real piece: white listing shots, close-up detail frames, and styled scenes for social. Jewelry is detected on upload and jewelry mode switches on by itself, which is what keeps prongs, pavé and engraving from turning to mush. Reflective metal and stones sometimes need a second attempt, so generate a few and pick.
What is the best background for jewelry photos?
White for listings, because marketplaces require it and it keeps attention on the piece. For social and your own store, a mid-tone stone, linen or wood surface flatters metal more than pure white, since it gives the polish something soft to reflect. Keep one background per set so the collection reads together.
How do you photograph jewelry without reflections?
You cannot remove them, and you would not want to: reflections are what make metal look like metal. Control them instead. Shoot inside a tent or a white curve so the reflections are even, move the camera until your own reflection slides off the piece, and use black cards to put a clean dark edge along the band.
Can you photograph jewelry with a phone?
Yes, and for listings under a few thousand rupees or dollars it is usually the sensible choice. The phone is not the limit, the light and the steadiness are. A tent, a tripod and a locked exposure will beat a loose handheld shot on an expensive camera every time.
Common mistakes
- Shooting handheld. At this size, every frame is slightly soft, and you only notice once it is on the listing.
- Macro from an inch away. It distorts the piece and puts the phone in the reflection.
- Dust left on the piece. Cheap to fix with a blower, expensive to retouch later.
- One frame per piece. Focus is thin here. Shoot a few and choose.
- Color pushed in editing. The photo has to match the metal that ships.